

How to make bracelet pillow holders
Click to watch full video
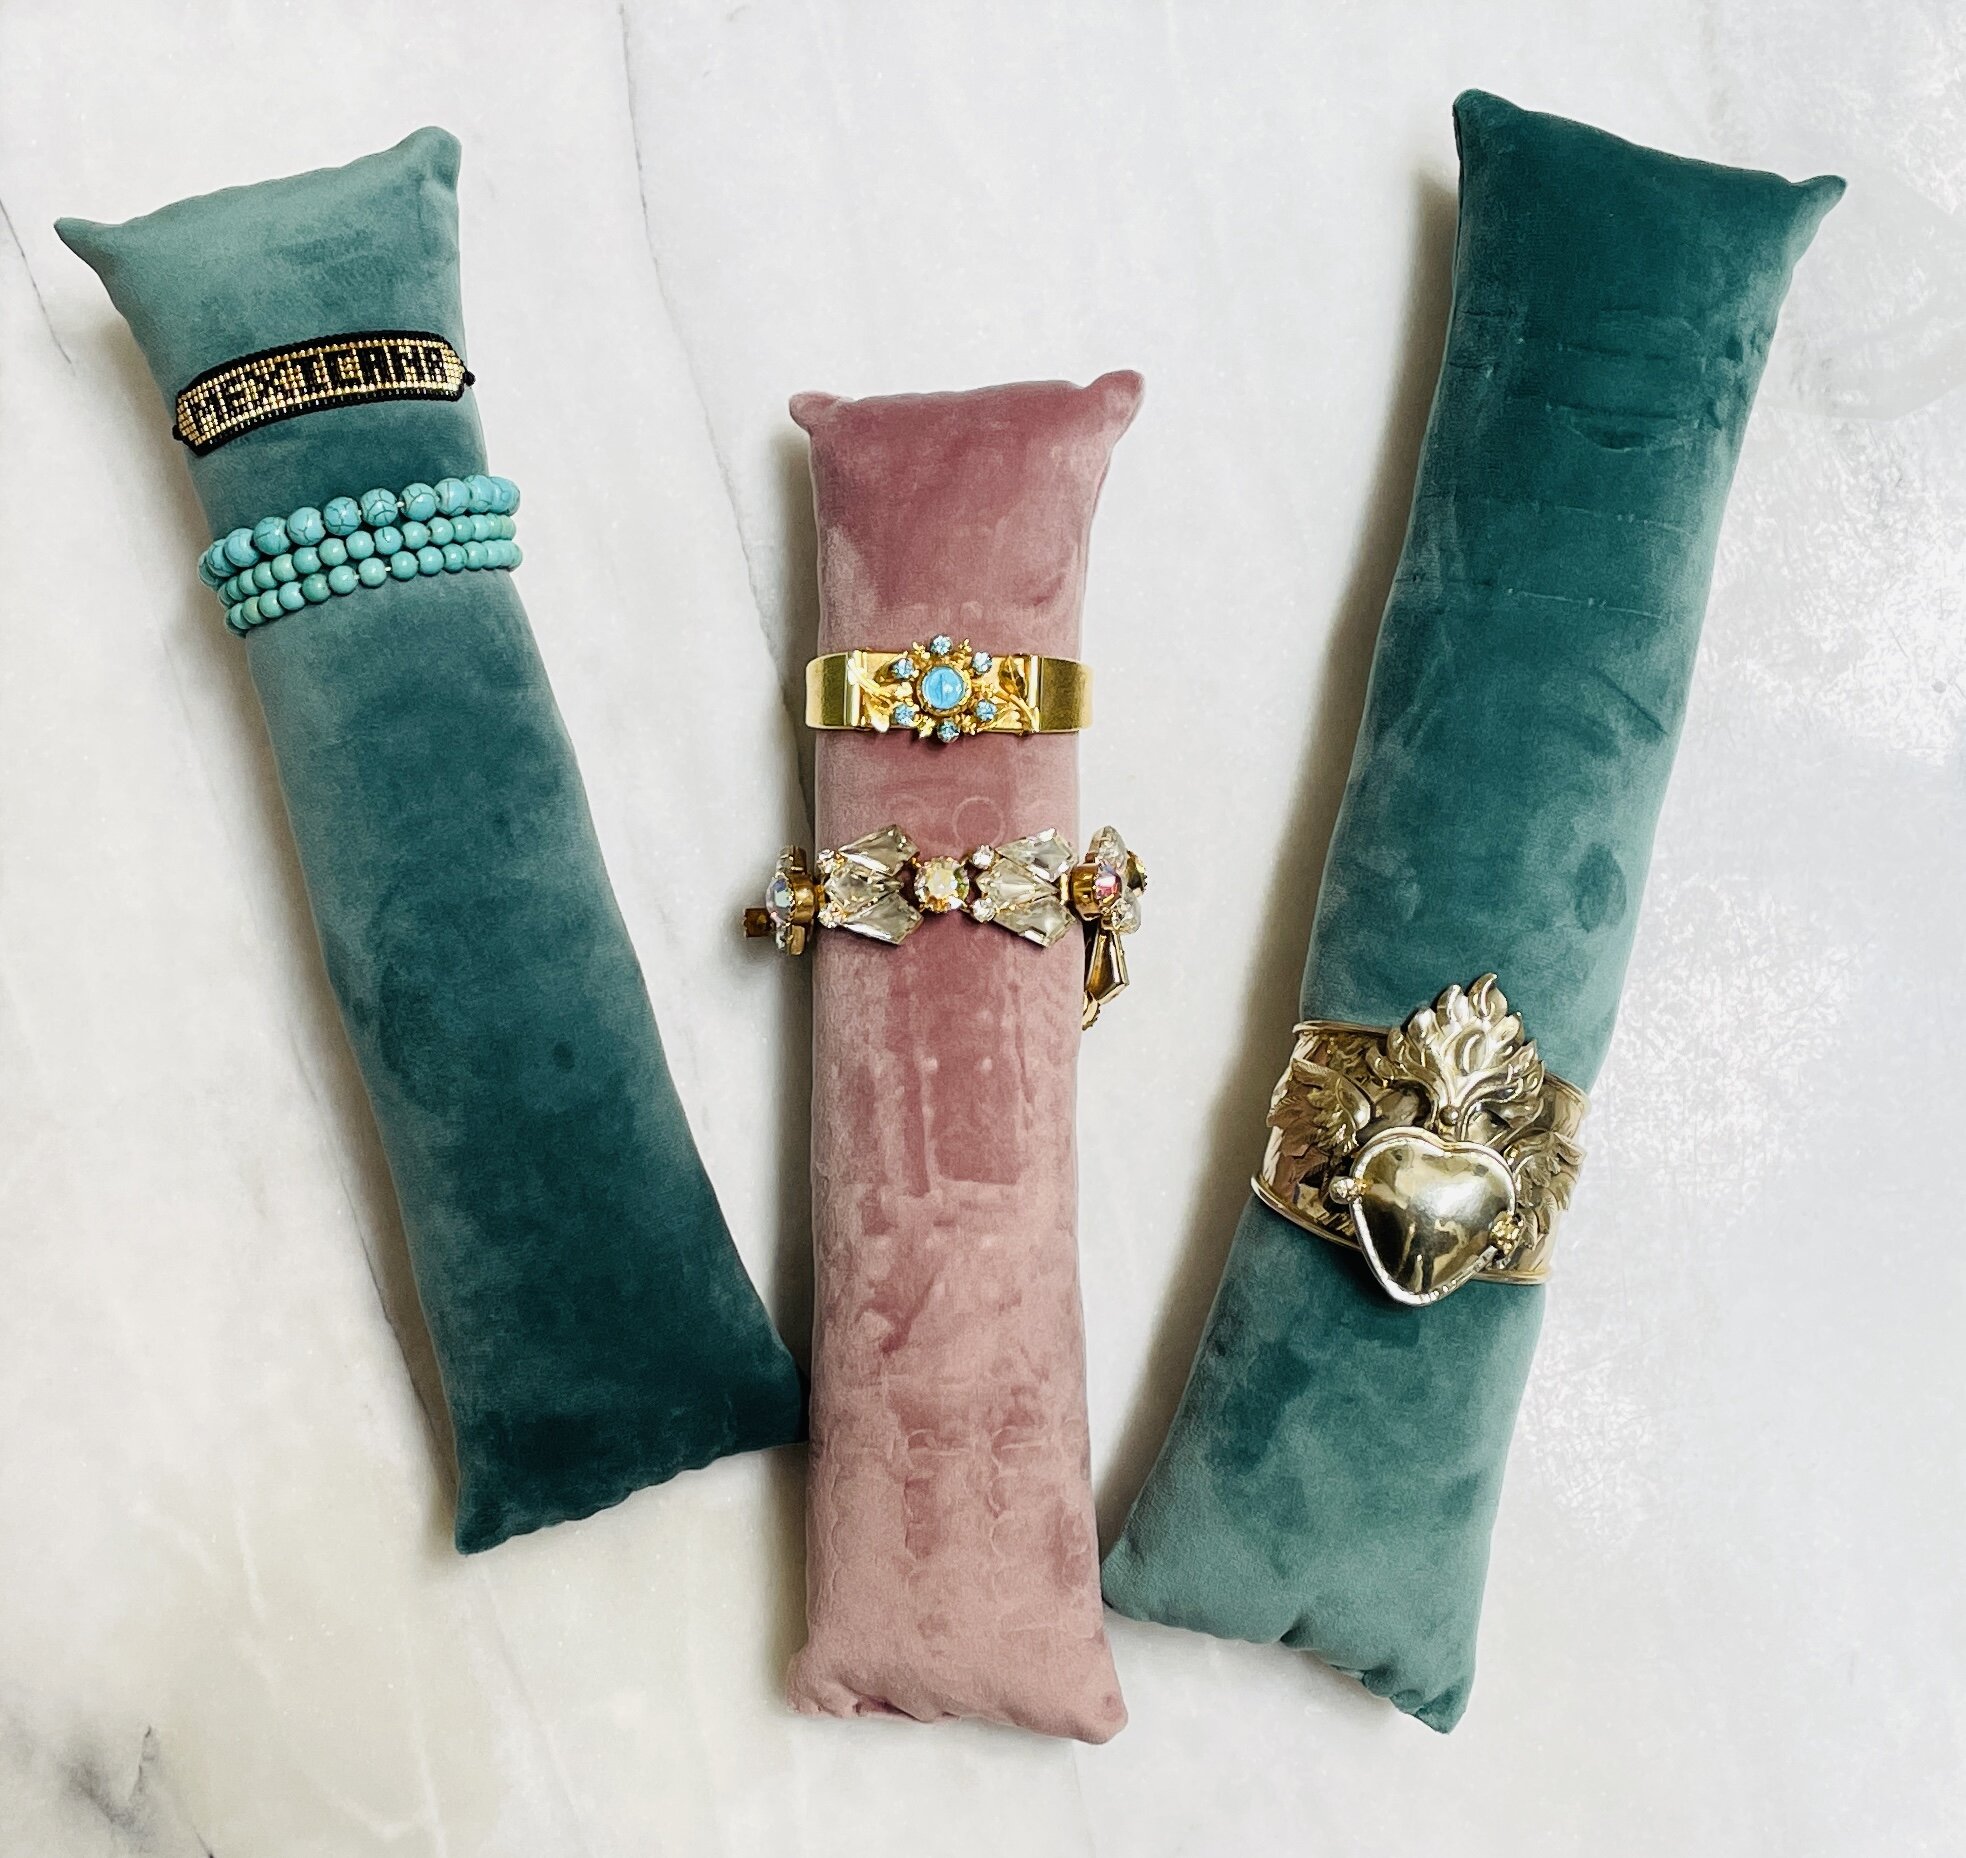
Start making gifts for friends and or family. These Jewelry Holders will look great and keep your friends jewelry looking great!
Most of the people around me know I can craft/make a thing or two. But then they ask me when will I teach them to make or teach them to sew something. So here we are my first DIY video and I couldn’t think of the easiest project to start with than these Jewelry-bracelet pillows. They are sooo easy to make! I first saw some huge ones for shaping boots in Austin and loved the idea of making them for my jewelry (my mind works in a mysterious way).
So when I got home I got to thinking and turned into these simple jewelry holders. They are a perfect mini pillow to use for your bracelets, watches, hair scrunchies, brooches. These jewelry pillows are a great way to start organizing your jewelry closet-drawers.
Also they will help you get rid of unwanted clothing …. Example taking a shirt you stained, doesn’t fit or you don’t want to get rid of because you love the fabric, take the piece of clothing or fabric and cut a 13”x 8” and then log on to my YouTube Click to see Tutorial. I urge you to watch it all before you start your project it will allow you to see what you have to do before you do it.
Shall we start ?!
Supplies needed to make bracelet holders
What you need:
-Fabric 13” x 8” non stretch
-Scissors + Ruler + Pencil
-Polyfill
-Clip or Alligator Clip
-Thread and Hand Needle
*Optional- Rotary cutter and Matt
-Ok so, the fabric you use as stated before can be anything without stretch, the only reason I say no stretch is because it will be harder to sew if you are a beginner and if you use stretch material for your first project you would have to figure out the give of your fabric and yadi adi ada ……Stretch material FYI has a whole different way of being sewn and different measurements would be needed because what happens to spandex material it stretches and we don’t want it to stretch. I love cotton or polyester and remember to have fun with he colors or if you want a more muted tone you can always use a canvas material and or like I said re use what you have.
Extra Project Tips
*Extra tips for the use of this project is not only can you use it for your jewelry but for the following:
Boot shapers- just get the height of your boot and the width
Bath Pillow - a perfect project for those old towels
Mini square pillows for your watches
Mini pillow for your Ring Bearer
So many fun projects and super easy to make, these Jewelry pillows will be a great addition to anyone’s closet.
-Let’s SEW it up!
Start Sewing your folded fabric
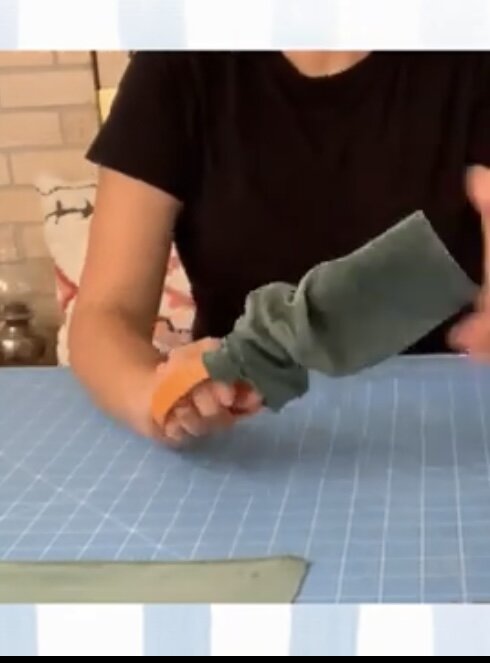
1-Put the right side or the pretty part you like on the outside folded inward, this means you won’t be able to see it. Start sewing the edge leaving 1/2 inch seam allowance. When you get to the corner make sure you don’t close the pillow and leave enough room to fill the pillow with the poly fill.

Turn it inside out
2-Once you have sewn it turn it inside out, you will be have clean seams as well as the pretty side of your fabric ( called the right side) will be seen.
Fix your pointed seams
3-Now, grab your scissors and making sure they are closed try to poke out the corners to your corners without tearing your fabric.
Stuff your Bracelet Holder
4-Now you can stuff your Bracelet Pillow and fill it with whatever you have that will make it keep its shape like : polyfill, cotton balls, rice, lavender (this will smell nice), beans and or unpaired socks or scraps of fabric.
Hand sew the opening with an invisible seam
5- You are almost done! Take your needle and thread and hand sew the corner opening. The alligator clips will come handy for the seams to stay together. Using an invisible seam will work best. Or you can always just close it with sewing it with your machine just be careful as sometimes sewing machines get temperamental. Another way is just hot gluing it and the clips will come handy to keep it shut.

VOILA! you got it and now can start making tons more!
I’d love to see everyones project and the way it came out. Please feel free to DM me via Instagram or email me for any questions.
Watch the video here: DIY Bracelet Holder Video